
Brewing Kombucha Part 1: How to Grow a Scoby
If you’re here then I’m guessing you already know what kombucha is, and about the benefits of drinking it so I’m just going to share with you my techniques and tips for brewing kombucha from start to finish.
I’ve been brewing my own kombucha for a few years now. I began because it was just getting too expensive to buy, which is the reason I think most people start brewing their own. My husband brews beer so I’m constantly surrounded by men transferring, hopping and kegging so I figured I could probably figure out how to brew my own kombucha, and I would have plenty of people around to help me if I needed it (which I didn’t, and neither will you). Besides saving a bit of money I like to brew my own for a few reasons:
- It’s a fun (dorky) science experiment that you get to drink.
- You get to control the flavor and experiment with different teas, fruits, herbs etc…
- You can control the amount of sugar (some bottles of store-bought brew have 18 grams of sugar which is insane).
The first step in starting the brewing process is to grow your own scoby. The SCOBY (acronym for symbiotic culture of bacteria and yeast) basically is what turns sweet tea into fizzy fermented kombucha. It floats at the top of the brew vessel and looks like a flesh or white colored rubber/jello disc. which keeps any bacteria out, and traps the CO2 that is being produced which gives it carbonation. A scoby can also be referred to as a “mother” or “mushroom.” It will grow a new layer with each batch you brew and it will become thicker and thicker.
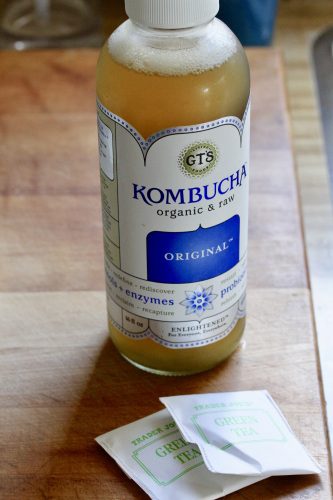
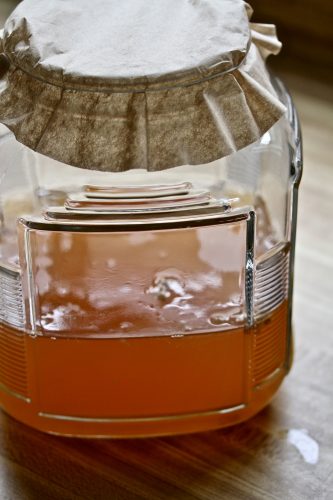
If you know someone who has a scoby they can literally just cut a piece off of theirs and you can use that instead of the store-bought one I’ll be using in this process. You can grow your own which is super easy too (it is how I started mine). Have you ever been drinking kombucha and come across a mucus-y blob? Sorry there’s no better way to describe it. It can either be at the very top of the bottle or in the bottom of the bottle. This is a baby scoby which you will grow into a larger one by feeding it a sweet tea over 2-3 weeks. The process described below is basically this: brew a super sweet tea and let it cool, add the scoby along with some of the kombucha, cover it and set it in your closet to grow for a few weeks. You should know that this first batch of scoby-growing kombucha will not be drinkable so you’ll have to wait for the next batch.
Have fun!
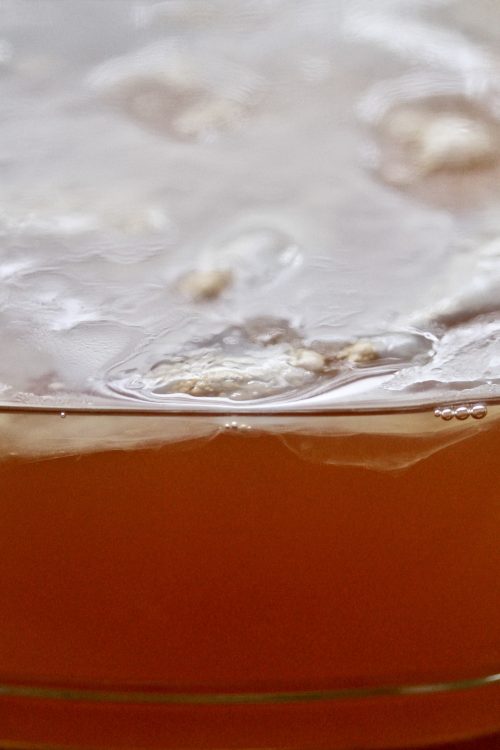
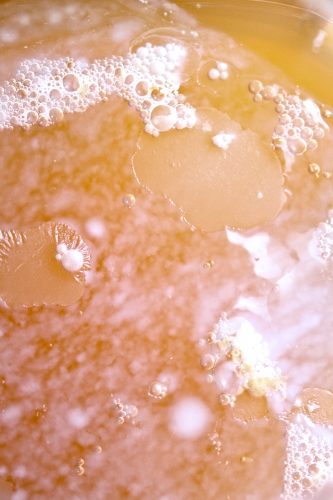
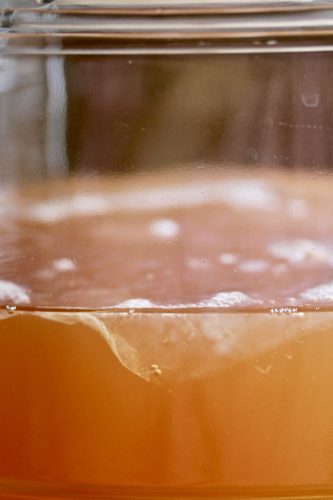
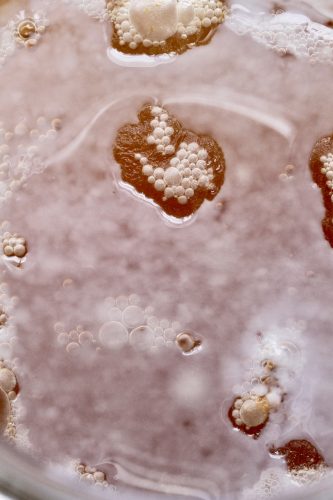
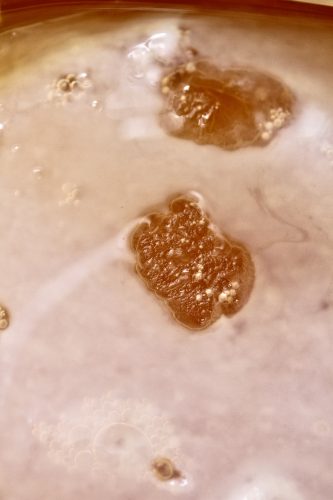
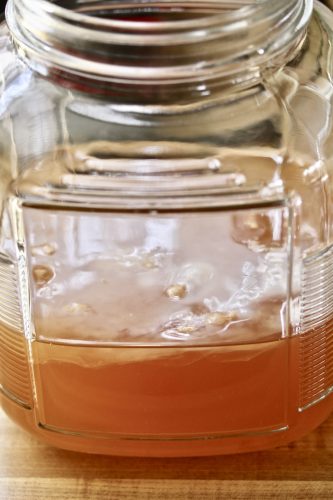
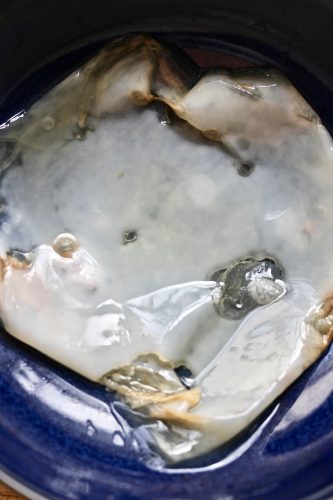
Here’s a visual progression of the growing scoby:
At 5 days old
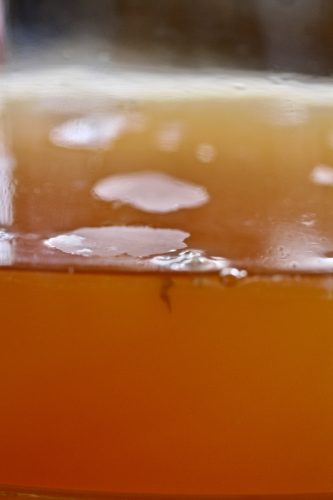
At one week old
At 9 days old
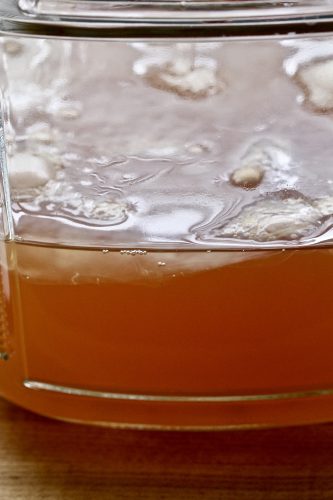
At 2 weeks old

Brewing Kombucha Part 2: Fermentation – The Sea Salt
July 6, 2018 @ 4:45 pm
[…] After growing your scoby the next step in brewing your own kombucha is your first fermentation. In this prcocess you’ll brew a pot of tea (similar to when you grew your scoby, but with less sugar and more volume), let it cool and then add your scoby. It usually takes about 5-7 days for this first batch since your scoby is still growing and not super efficient yet. Your next batch will take fewer days. I don’t like to let the kombucha ferment too long because I like a less vinegary, and a lighter tasting kombucha. After this fermentation is when you’ll be able to add the flavors that you want, and then drink it shortly after that. […]
Brewing Kombucha Part 3: Second Fermentation and Adding Flavor – The Sea Salt
July 12, 2018 @ 4:03 pm
[…] now, you’ve made your own scoby, and done your first fermation. So at this point you should have a jar of booch that has a healthy […]