Brewing Kombucha Part 3: Second Fermentation and Adding Flavor
The final step in brewing your own kombucha (and the most fun part) is the final fermentation. In this stage you’ll decide what flavor you’d like your brew to be, and you’ll be one step closer to drinking it. I’m going to go over the bottles I use, how I add flavor, how long before I put it in the fridge, and a simple recipe for green tea, honey kombucha. I could go over all of the different flavors I’ve tried, but I’m going to keep it simple for this first tutorial. I’ll add more recipes for flavored kombucha as time goes on.
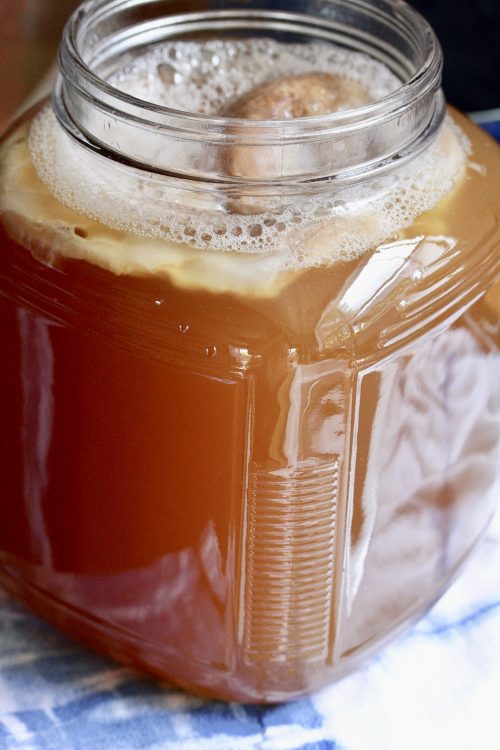
By now, you’ve made your own scoby, and done your first fermation. So at this point you should have a jar of booch that has a healthy scoby covering the surface, a slight vinegary smell through the coffee filter, and even some visible bubbles rising underneath the scoby. As I mentioned in part 2, I usually let my kombucha ferment for 5-7 days but I don’t like to go much longer since it tends to get too vinegary for my taste.
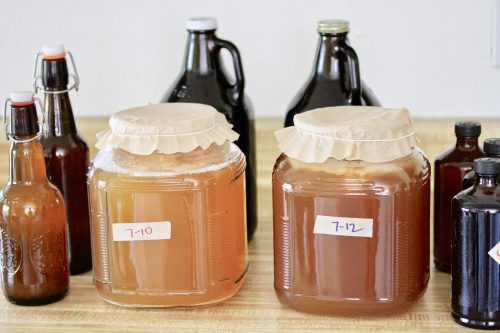
Here’s what you’ll need:
- large measuring cup
- funnel
- glass bottles (As I mentioned before, I have a beer-brewing husband who just had these flip top bottles that I could use, but you can also find them on amazon. I like these bottles a lot because they really trap the carbonation in the bottle, almost too well. You can also use larger growlers like the kind you can get at a brewery, or just re-use kombucha bottles from when you buy it at the store. I’ve found that these trap the carbonation the least efficiently, but they still do the job).
- masking tape and sharpie for labeling
- a new batch of cooled sugar tea ready to go for your next batch (see part 2), so your scoby has somewhere to go next.
Here we go!
- Brew your next batch of tea far enough in advance so that it is cooled and ready to go.
- Make sure your hands are super clean. I usually wash them after every step of this process, just to be safe.
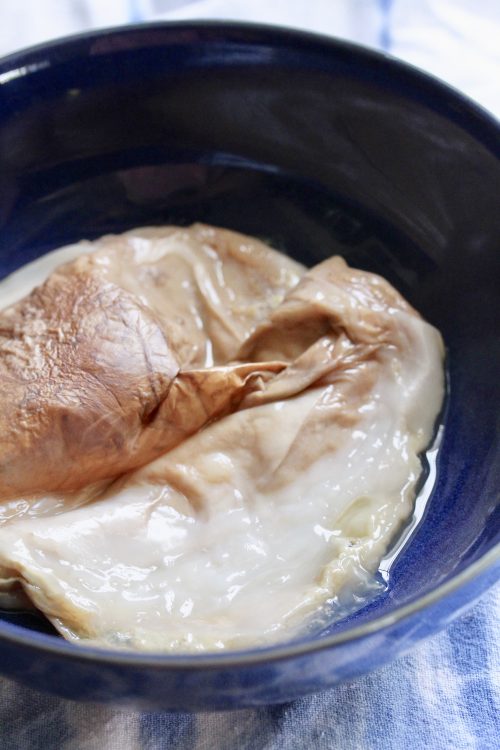
- Take your kombucha out from it’s dark, cool spot and remove the coffee filter top. Remove the scoby from the top using your clean hands (gently) and set it aside in a clean bowl.
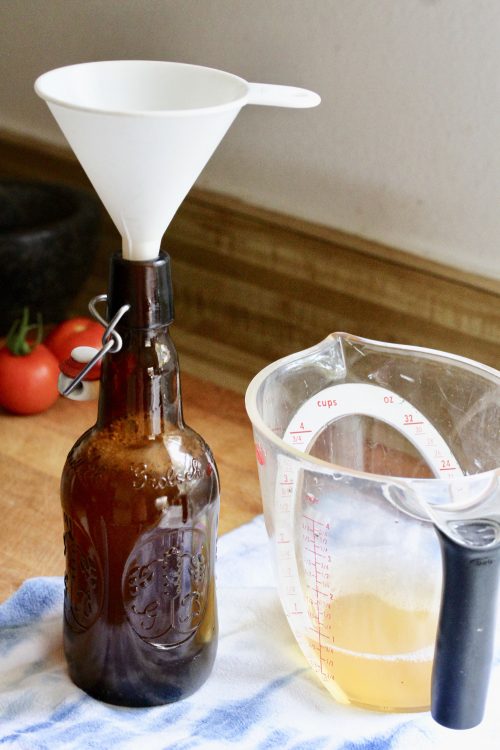
- Pour the fermented kombucha into the clean large measuring cup, just enough to fill it. Try not to shake up your vessel so that the cloudy part stays settled, since you want this as separate as possible to use in your next batch.
- Using your funnel, add the kombucha to your clean bottle (different sizes will require more) leaving about 3-4 inches at the top for adding juice. If you’re not adding juice then fill to 1-2 inches from the top.
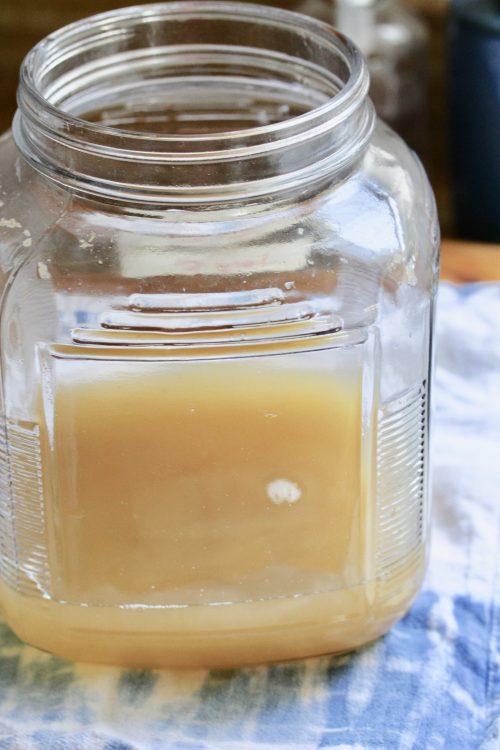
- Fill as many bottles as you have kombucha for, leaving about 2-3 cups in the bottom of the jar with all the cloudy bits.
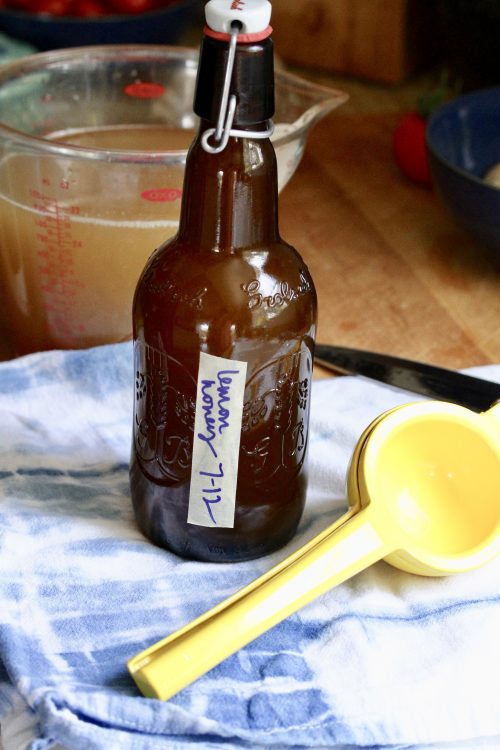
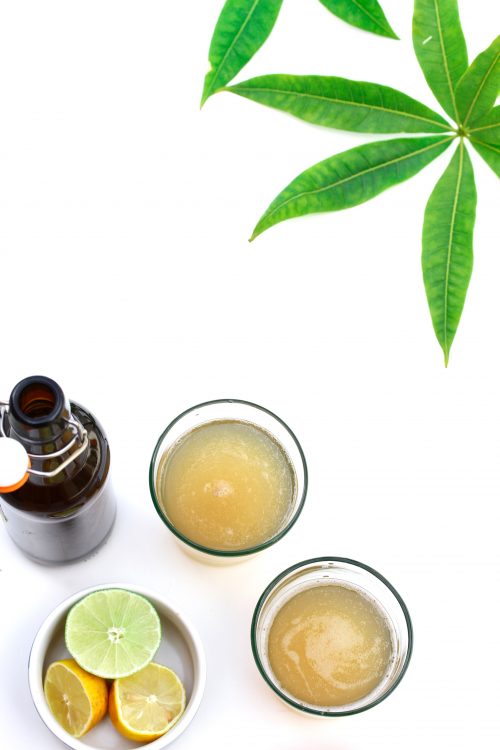
- Add juice of choice to top off your bottles, seal them and label them with the date and flavor. The less juice you use, the less flavorful it will be. I use 100% juice from Trader Joe’s, or I make my own (I’ll go over this in another post). I have a friend who uses whole fruit which you can also do but I find it to be more expensive and more work to strain out the fruit when you go to drink it. Note: For your first time I recommend just doing an unflavored batch so that you can get a grasp of what your brew will taste like, or at least a few bottles unflavored. For a green tea honey kombucha just add a 1 Tbsp of honey per 2 cups of brew. It is necessary to add some kind of sugar to this part of the fermentation process because by now your brew has probably eaten up all the sugar you gave it originally, and needs some more to eat to produce carbonation and to not turn to vinegar.
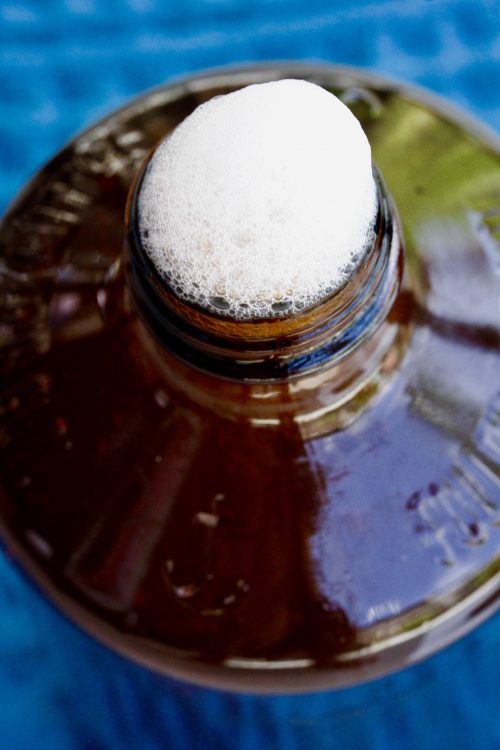
- Set your bottles in a dark cool place (not the fridge yet), for about 4-5 more days. You’ll need to “burp” the bottles every day, especially the flip tops so that they don’t explode. Just open them quickly to release some gas (you should hear it escaping) and then set them back. Feel free to taste your booch as you go to get a sense of what is happening to the flavor as it ferments.
- Clean out your large fermenting vessel with soap and hot water. Let it cool (and make sure it is rinsed really well so no soap is left in there), and pour in the reserved cloudy leftover booch from the previous batch. Top off with the newly brewed tea and lay your scoby on top (clean hands). Cover with a new coffee filter and seal with a rubber band, label it with the date and put it back in the cool, dark spot.
- When your booch is at desired fermentation and carbonation level then it is good to set in the fridge. I like to refrigerate mine for a day or two before I drink it because I think a period of cold fermentation helps to clean up the flavors and cold kombucha just tastes better! Don’t put it in the fridge before it is at the level that you would like to drink it at because as it gets cold, most of the fermentation stops (although you may still need to burp bottles when they’re in the fridge just to be safe).
Let me know if you have any questions! Have fun!
I would love to see anything you make, so feel free to tag me on instagram (@theseasalt, #theseasalt).
