How to Make a Compost Bin
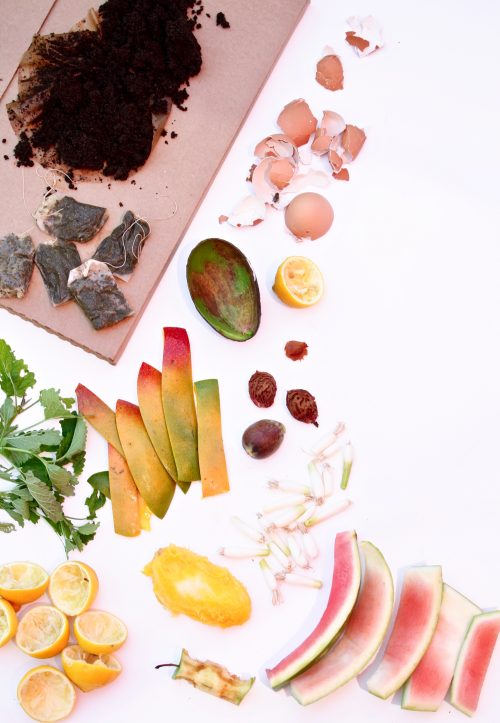
We eat a lot of fresh produce year round, but during the summer when the California fruits are at their peak we eat an especially huge quantity. I try to use as much as I can but a veggie stock just doesn’t taste as good when you throw a mango pit or an an avocado skin into it.
Enter composting. I know you’ve heard of it, but maybe its a little scary and dirty. Maybe you don’t have a garden? Maybe you don’t even have a yard? I feel ya!
But here’s the deal. You don’t really have an excuse.
If you don’t have a garden… you might not think that you have a need to compost. But there’s already lot of waste going into our landfills (think burning trash and methane release… climate change) and when you compost your own food waste then you can help alleviate that. Compositing is like nature’s way of recycling. Plus, you can use the compost in potted plants.
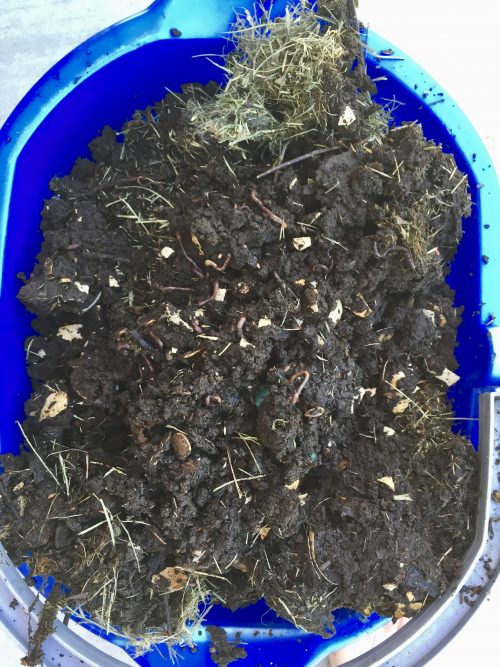
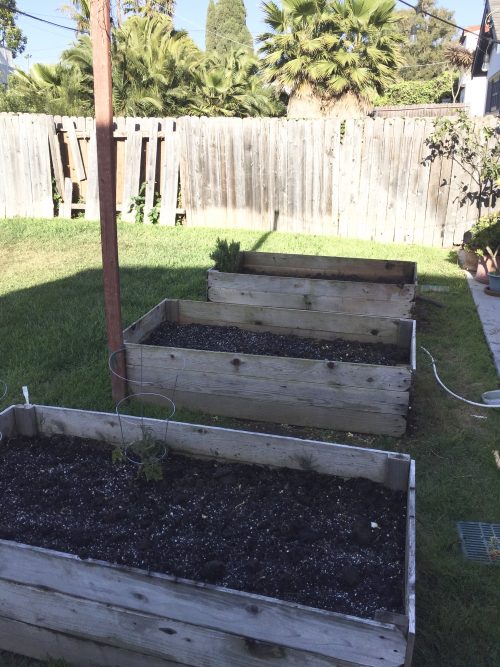
If you do have a garden… and you’re not composting then you are really missing out (especially if you’re buying compost). What the worms leave behind when they eat your food scraps is like gold food for your plants. Your plants will grow larger and be much more fruitful when you mix compost into their soil, which I can attest to. Plus with a home compost situation there’s no methane production, and it is totally free!
What if you live in a city and have neighbors really close by? What if you don’t even have a yard? If you have any outdoor space then you can compost. In Southern California (especially near the beach) we’re known for living particularly close to one another. I can hear when the neighbor’s phone rings if they have their windows open. So I get you! I’ve chosen a larger compost bin (I actually have 2 now), which is about 2 ft by 3 ft but you could go much smaller than that. I keep it on the side of the house in a little alley way that doesn’t get any sun, and it is literally 6 feet from my neighbors house. It doesn’t stink because I use the right ratio of 2 parts green material (food waste from your kitchen, grass clippings, garden waste) to one part brown material (cardboard, sawdust, newspaper). This site is really helpful and has a chart! We also don’t get a lot of rain here which can drown your worms if you don’t have a very full bin, so if you do get a lot of rain you may need to account for that by finding a more well covered area.
You can definitely do a compost bin without worms but they are super helpful in moving along the process. I got a scoop of them from my friend’s compost, and just added them into mine. You can also buy worms at any home improvement store or often times at your farmer’s market. I wasn’t able to use any compost for probably the first two seasons that I had it since it does take a little time for the worms to work their magic, but once they do you’ll have some awesome compost.
Just FYI, things you shouldn’t add to your compost: meat scraps, feces (of any kind), glossy or coated paper like cardboard that has a lot of writing or pictures on it.
Have fun!
Here’s how I make my compost bins:
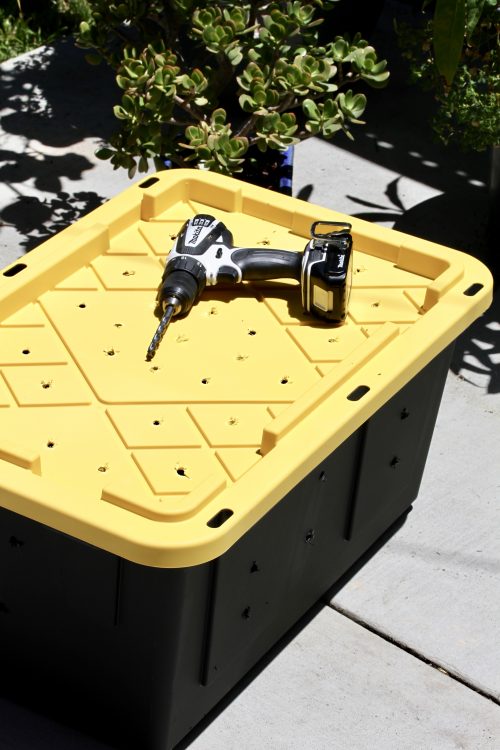
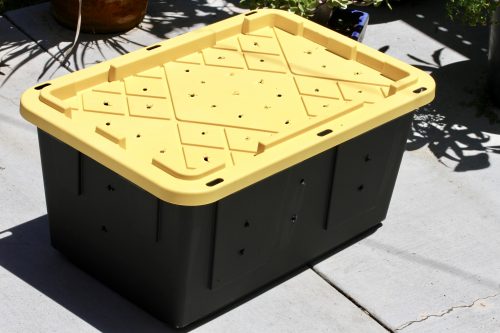
- Buy a large, heavy duty plastic bin that comes with a lid. I bought mine at Costco for about 8 dollars.
- Using a hand-drill and a large drill bit (I used a 3/8), drill holes into the lid, sides and bottom of the bin so that air can circulate. This is a good way to learn how to use a drill, if you don’t already know how (ask someone for help if you don’t know what you’re doing).
- Start filling your bin with scraps, but try to have a nice brown layer on the bottom to aid with circulation. Once you see your materials start to break down in a few weeks or so then you can add your worms.
- After about 2 years your compost will be broken down enough to be able to use it by mixing it into your garden soil or potted plants.

July 24, 2018 @ 10:51 am
How do you keep animals out of your compost?
July 24, 2018 @ 9:37 pm
There’s a top on the bin that they can’t get off